How to create a macOS Installer on a bootable USB Drive.
Download macOS
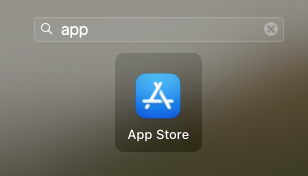
Download the version of compatible macOS from the App Store.

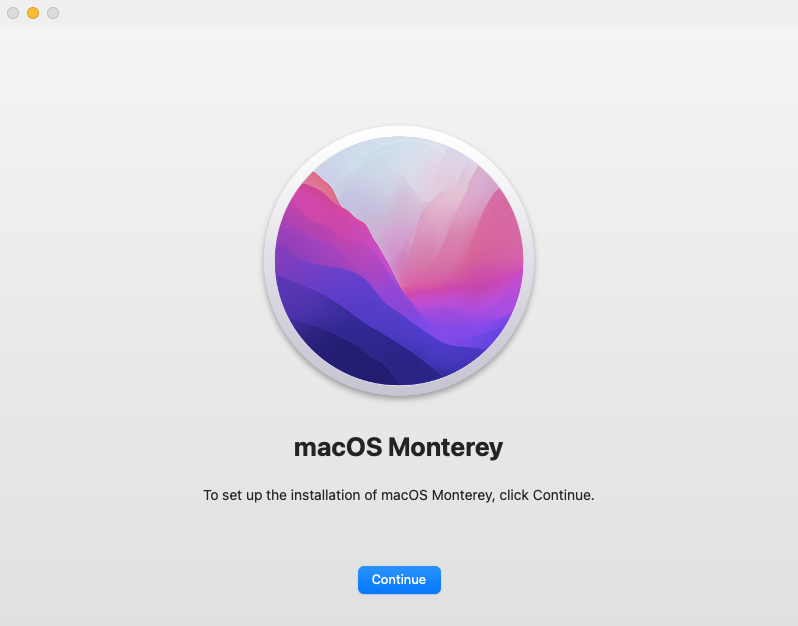
This could take a long time as the macOS intstaller currently downloads around 13GB of data. Once the download is complete, an “Install macOS” window should appear.
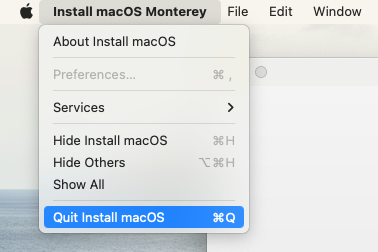
Choose the “Quit Install macOS” menu option.
Erase USB Drive
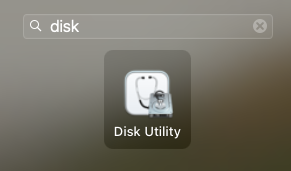
Use “Disk Utility” to erase the USB Drive using the “Mac OS Extended (Journaled)” format.
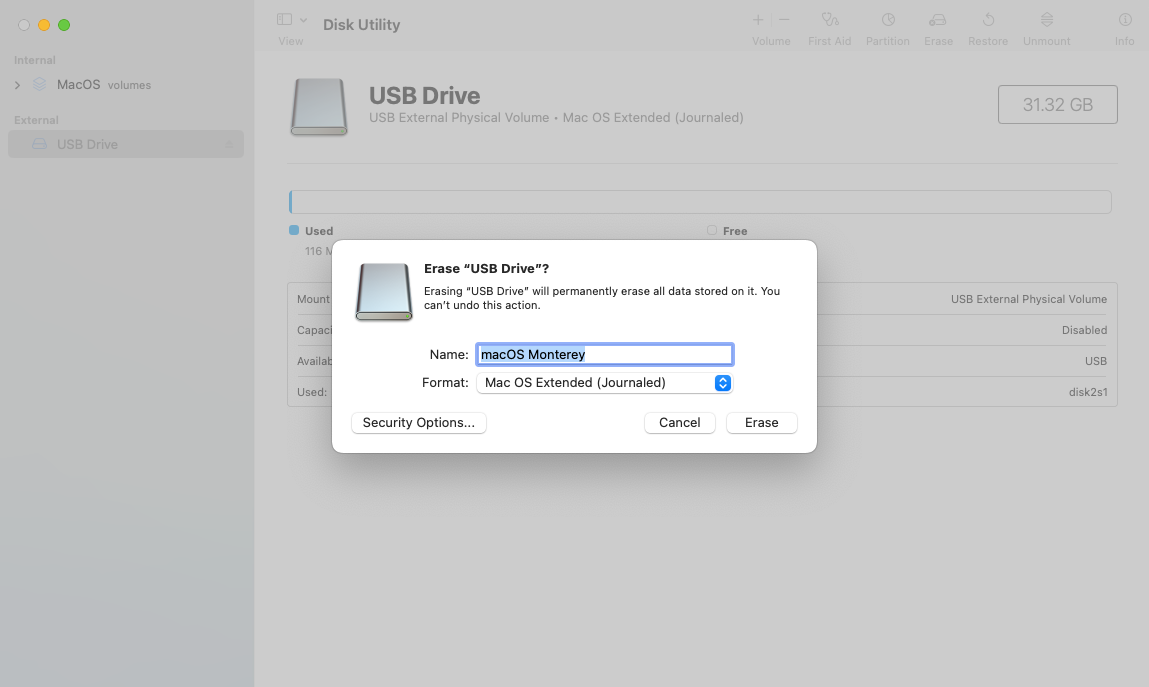
Create the Install macOS USB Drive
Go to the “Applications” folder using “Finder” and right click on “Install macOS” then select “Show Package Contents”.
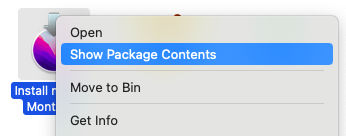
Double click on the “Contents” folder then double click on the “Resources” folder.
![]()
![]()
Open terminal and type “sudo “.

Drag the “createinstallmedia” icon onto terminal window. This will copy the filename to the end of the line.
![]()

add “–volume " to the end of the line.

Drag the USB Drive icon onto terminal window from the desktop (If not showing on the desktop then you should be able to find the volumne in the “/Volumes” folder).

Press “Enter” to begin the process and follow the instructions. You may be asked for an authorisation password.

Type “Y” and press “Enter” to continue.

This process may take some time to complete.
 Home
Home
 Categories
 Archive
 Photography